VS Code
VS Code: general purpose editor, together with the extension LaTeX Workshop. Available on all platforms and works best in combination with our Docker images.
Installation
It is very well possible to start developing LaTeX documents in a plain Docker container (see Plain BFH LaTeX). However, for the best experience, we recommend using the Visual Studio Code Editor, as it provides many features for developing inside a Docker container.
Visual Studio Code is an open-source code editor developed by Microsoft, compatible with Windows, macOS, and GNU/Linux. The Visual Studio Code Dev Containers extension lets you use a Docker container as a full-featured development environment. For an overview and brief introduction, refer to the introduction on the official website. To install the editor, follow the OS-dependent instructions on the official website. The link below will take you there.
Note
If you intend to use our Docker image, then ensure you have followed the BFH LaTeX on Docker instructions first.
Note
If you would not like to use Docker, but still VS Code, then just install the following extensions for the best LaTeX experience:
Prerequisites
Note
Required for Docker + VS Code only
Software
VS Code
Docker (see the Docker installation instructions)
Logged in to the BFH registry (see Logging in to the Docker registry)
The VS Code Dev Containers extension (see below)
VS Code Extension
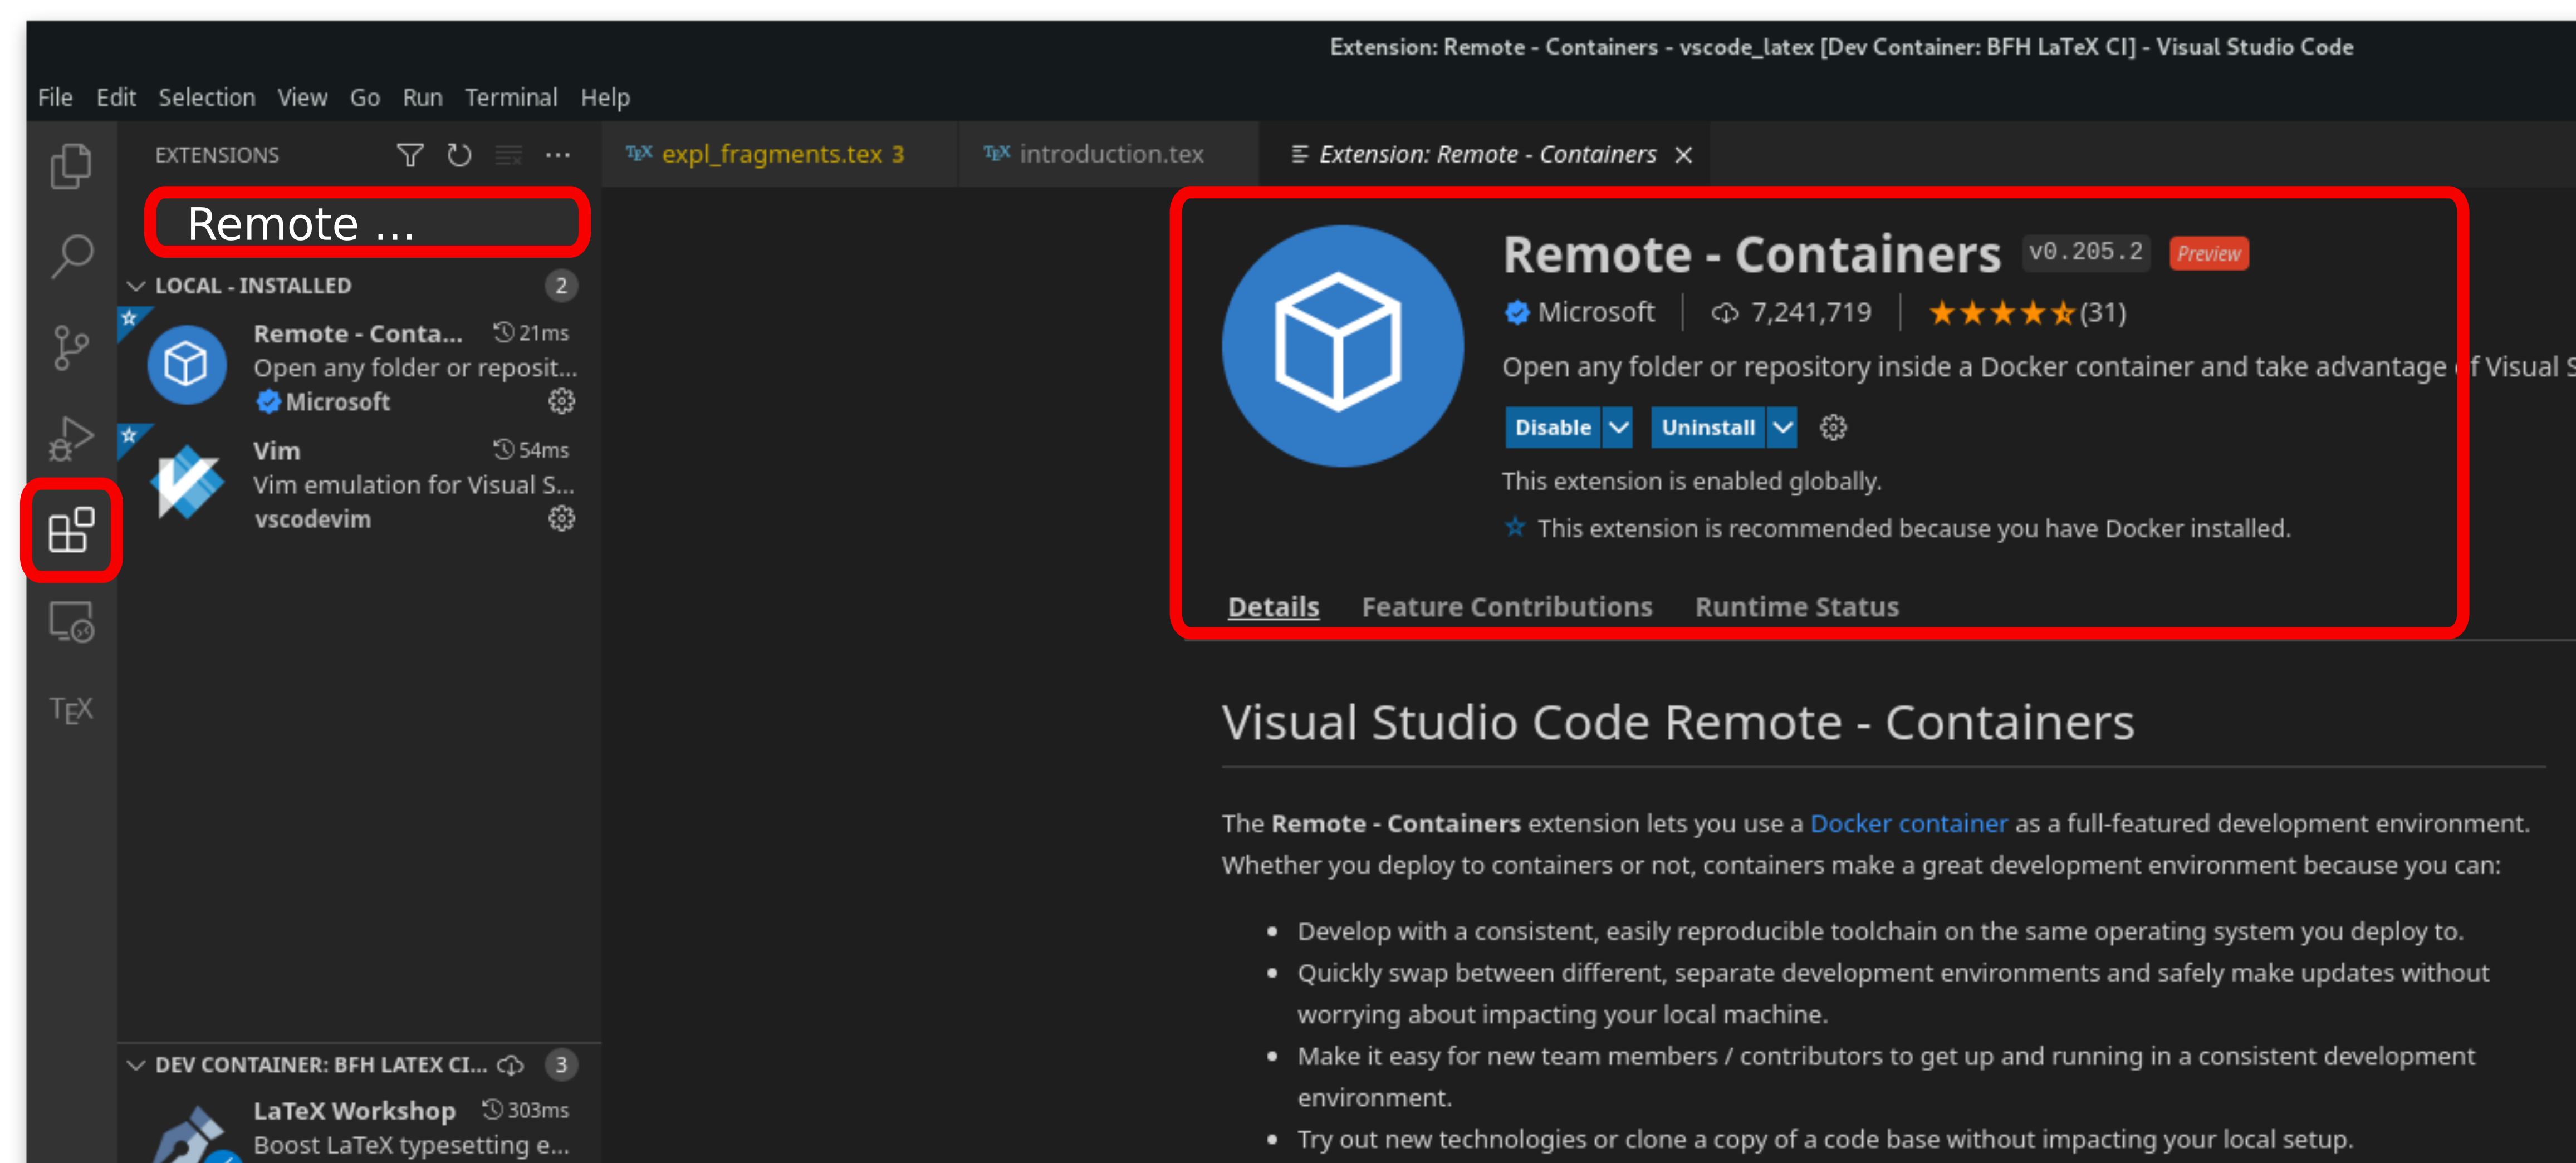
Start VS Code, open the Extensions view (Ctrl+Shift+X, or Cmd+Shift+X on
macOS), search for Dev Containers and install the extension published by
Microsoft (ms-vscode-remote.remote-containers). It was formerly called
Remote - Containers.
Get the Dev Containers extension →
Develop in VS Code with our Docker Images
Important
The Dev Containers extension is required to use our Docker image in VS Code. Without it, VS Code cannot open your project inside the container (see above).
Warning
You must be logged-in to our registry in order to use our images. If not already done so head to the login doc first.
Note
We recommend choosing a specific tag at all times instead of latest.
However, you will see latest in the documentation, just replace it with
any version tag of the BFH CI releases, starting from 2.2.3.
Docker image configuration
For each project you would like to edit in VS Code, using our LaTeX Docker image, you have to specify a project specific configuration file.
It immediately provides the following benefits:
You will always know which exact version of the BFH CI you have used for each project
You will always have the required dependencies documented and installed
This file must be called
.devcontainer.jsonand must be located in the top level directory of your project. For a complete list of possible options please read here. For a simple guide on how to install additional LaTeX packages see here.Example:
{
   "image": "registry.gitlab.ti.bfh.ch/bfh-latex/registry/vscode:latest",
}
This configuration, once opened in VS Code devcontainer will install our recommended extensions (baked into the image metadata) directly inside the image, this behaviour can be overriden when you supply additional options in the devcontainer config above. For more information check the source.
Warning
For tags prior to
2.2.9the configuration above might not work out of the box with the extension. As the extension does not default to build withlualatexwhich is required for the bfh template. Instead we recommend using the configuration which can be downloaded here:.devcontainer.json. This devcontainer configuration makes sure the latex workshop extension only provides build features withlualatex.Note
This file must be located in each LaTeX project directory you will be working in. VS Code takes the image specified under
imageand installs our recommended extensions or other extensions specified underextensionsin the.devcontainer.jsoninto the container. Feel free to add other desired extensions.Open the project directory containing the
.devcontainer.jsonin VS Code (File->Open Folder)VS Code should recognize the
.devcontainer.jsonfile and automatically prepare the system using the steps described below:VS Code will download the specified image if it has not already been downloaded. (This may take a while)
It installs the specified extensions from our recommendations and the ones you specify.
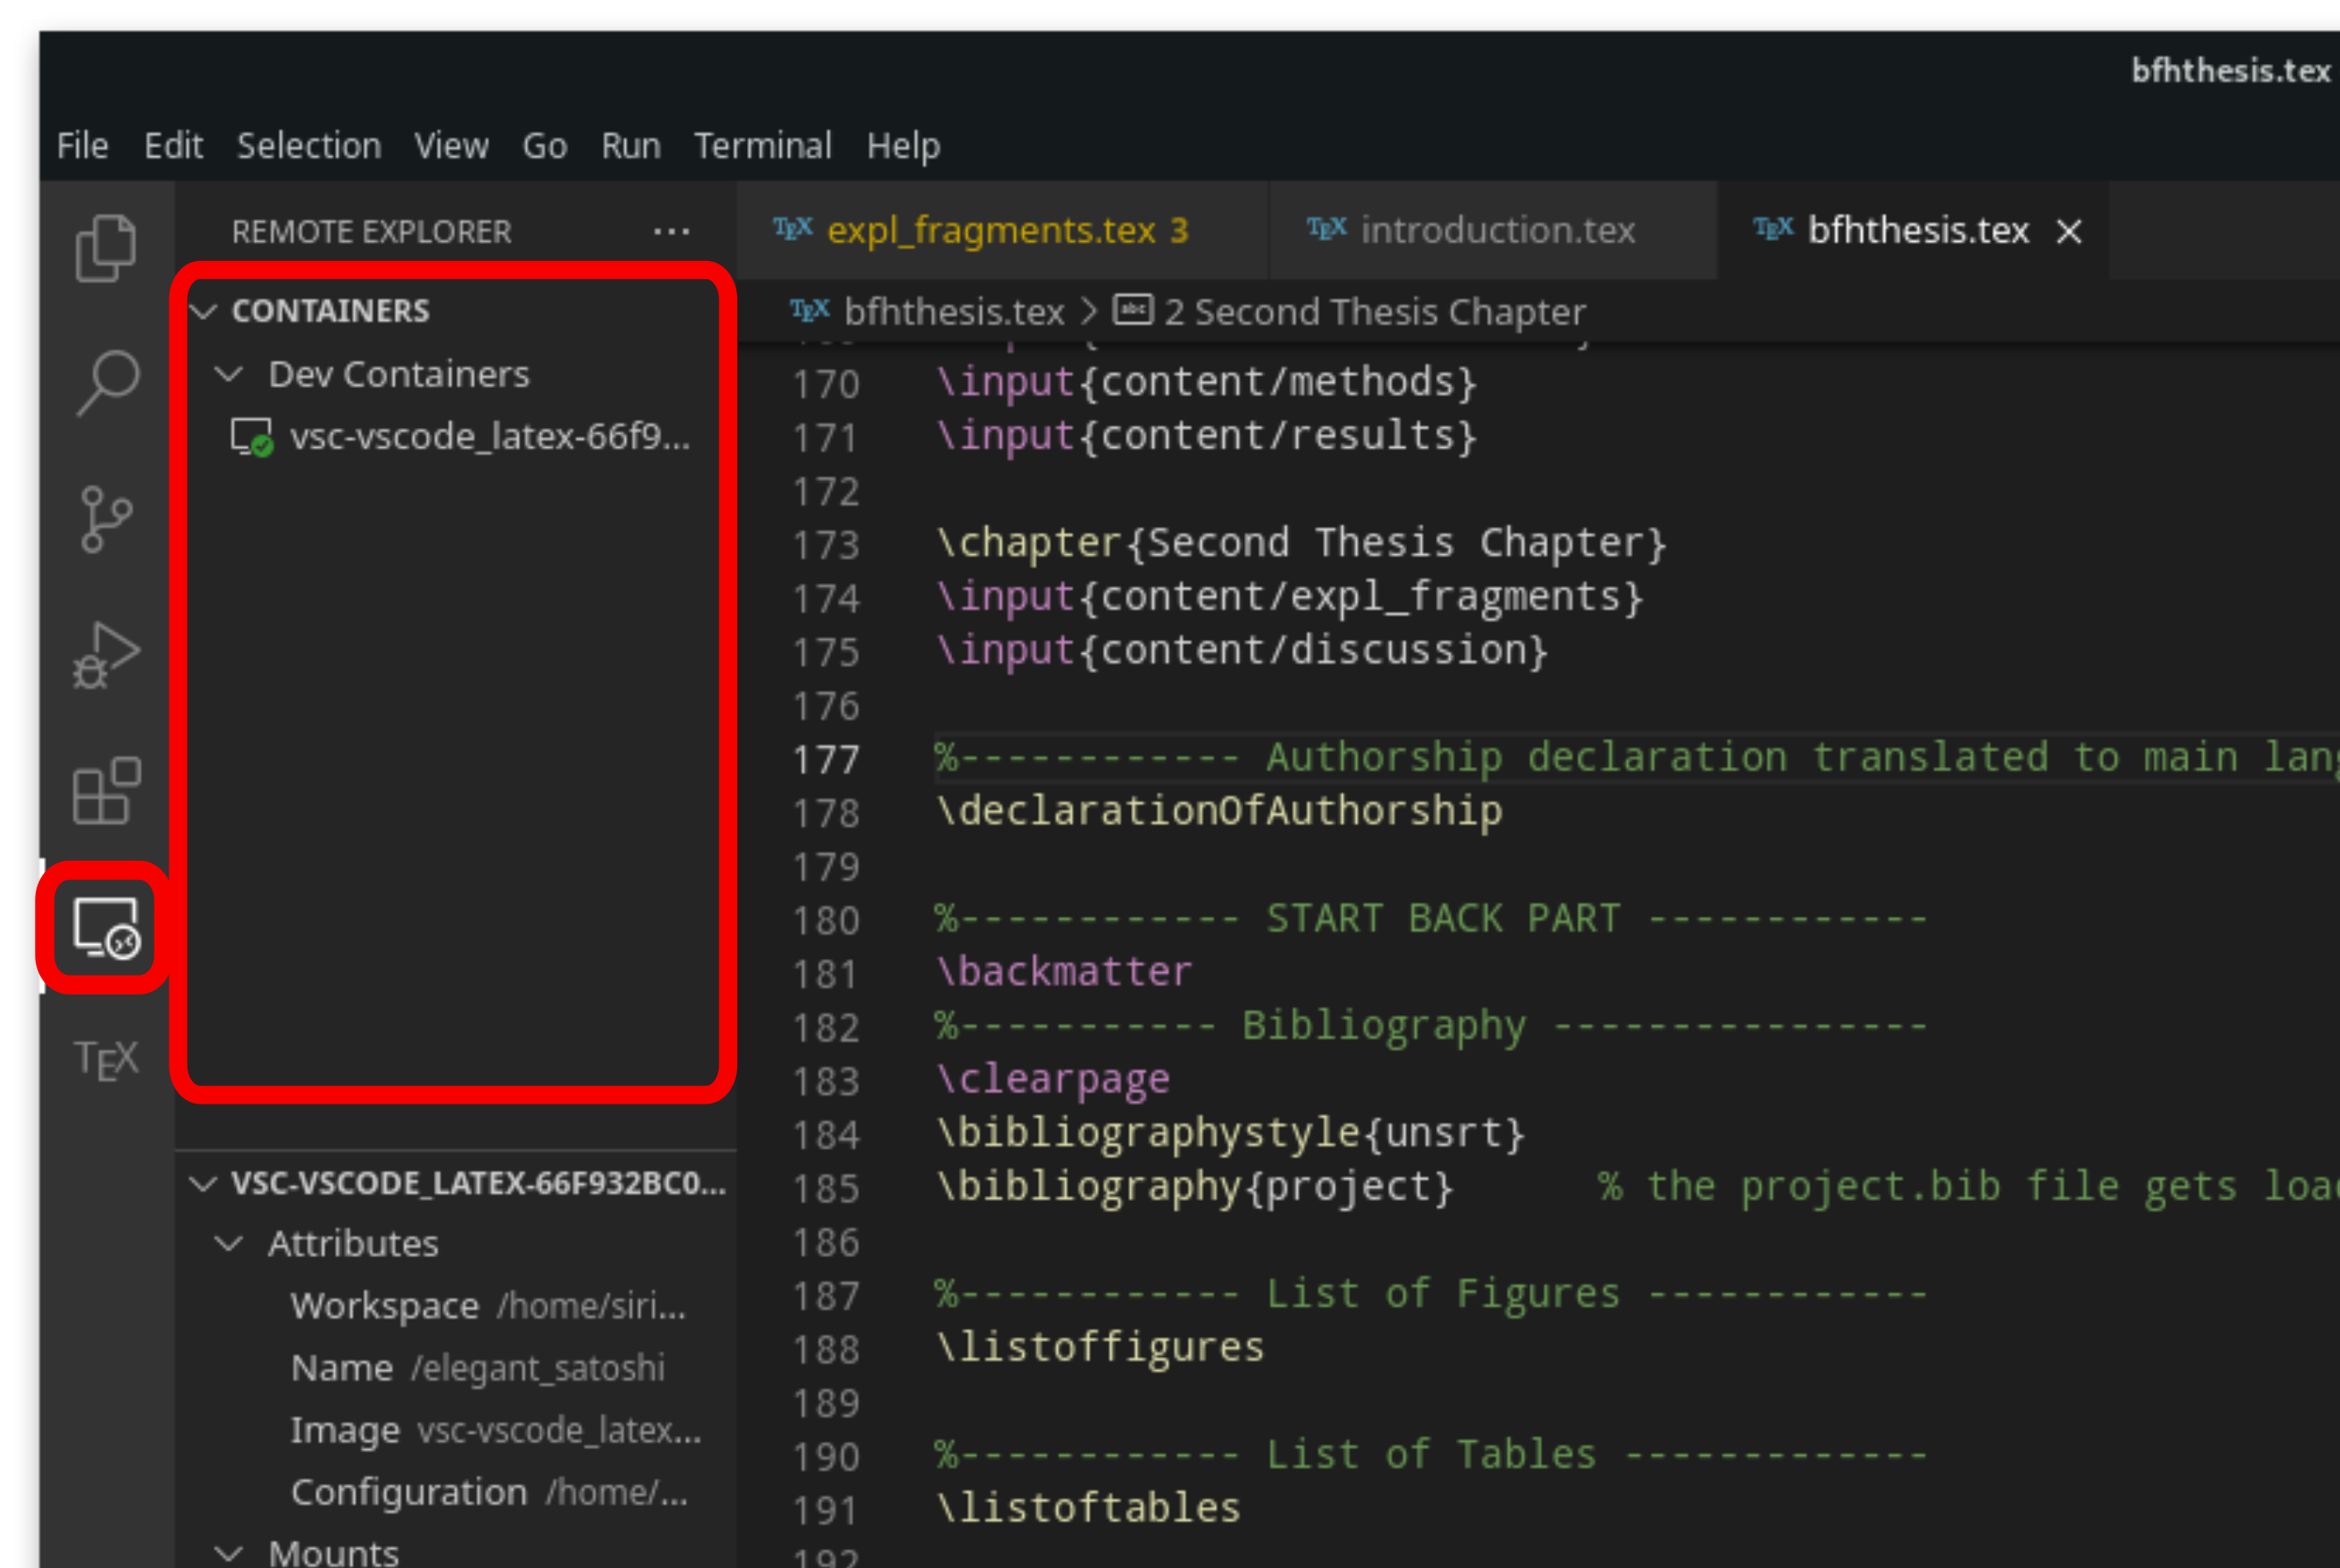
After the VS Code image is successfully created, you should see the launched container. Similar to the figure below.
Copy the desired template / example to your project
Note
The VS Code image contains all BFH templates, examples, logos and fonts installed in the default
TEXMFHOMEdirectory, which is normally/home/vscode/texmf/find it running$ kpsewhich --var-value TEXMFHOME
inside the container. So there is no need to download them manually if you follow the steps described below.
Open a new terminal via the top menu bar (Terminal → New Terminal), it will be spawned in the container directly.
List the available templates:
$ ls $(kpsewhich --var-value TEXMFHOME)/latex_templates/
Copy the desired project, e.g.:
(Note the trailing
/.afterBFH-Thesis, it also copies hidden files):$ cp -r $(kpsewhich --var-value TEXMFHOME)/latex_templates/BFH-Thesis/. .
Open the main file an press the play button on the top right. It should build the project.
You can also use the terminal to build, just run
latexmk(a default.latexmkrcis installed in${HOME}so it should work out of the box)
View the generated pdf with live reload
Head to the LaTeX extension in the left bar (TEX)
COMMANDS->View LaTeX PDF
We recommend the browser (View in web browser), since it has shown as the most performant solution, however feel free to use another if it works well
Note
The LaTeX extension is configured in a way to detect changes to any tex file automatically to directly rebuild the pdf (it must be saved with e.g.
Ctrl+s).
Note
For more information about VS Code see the section Tips and Tricks. You can also download the reference sheet with the keyboard shortcuts
You’re Set Up
Tip
Your setup is complete. Start your document from one of our templates, and use the BFH Classes section as a reference while writing.
Extending the Docker image
It might be that you require additional LaTeX packages for your projects.
To install these just add them to the .devcontainer.json in the following way
(only the changed/added keys are shown, keep the rest of your existing file):
.devcontainer.json
{
  "image": "registry.gitlab.ti.bfh.ch/bfh-latex/registry/vscode:latest",
  "postCreateCommand": "sudo tlmgr update --self && sudo tlmgr install siunit"
}
This can also be used to automatically configure the git credentials for http:
"postCreateCommand": "git config --global user.email \"example@bfh.ch\""
Warning
We do not recommend configuring git credentials that way, since then this will be
the default for any user contributing to this project via VS Code. Instead
consider using the host for git operations or mounting the ~/.gitconfig file
(and additionally the ssh keys) into the container with the mounts option of
the .devcontainer.json (see
here)