LaTeX on Windows
Warning
Because the TeX distribution modifies the search path of your system, only one TeX distribution can be active at a time. If you have MiKTeX installed remove it first or adapt the search path to switch between the two if you don’t want uninstall MiKTeX.
As said earlier there are multiple ways of getting a TeX distribution. However, we recommend the usage of TeXLive for Windows. Uninstall other TeX distributions if you don’t know how to switch the search path or if you have no strong arguments for having multiple TeX distributions in parallel on your system.
Follow the description below to download and run the TeXLive installer.
Installation of TeXLive
For further information about the installation, read the installation information.
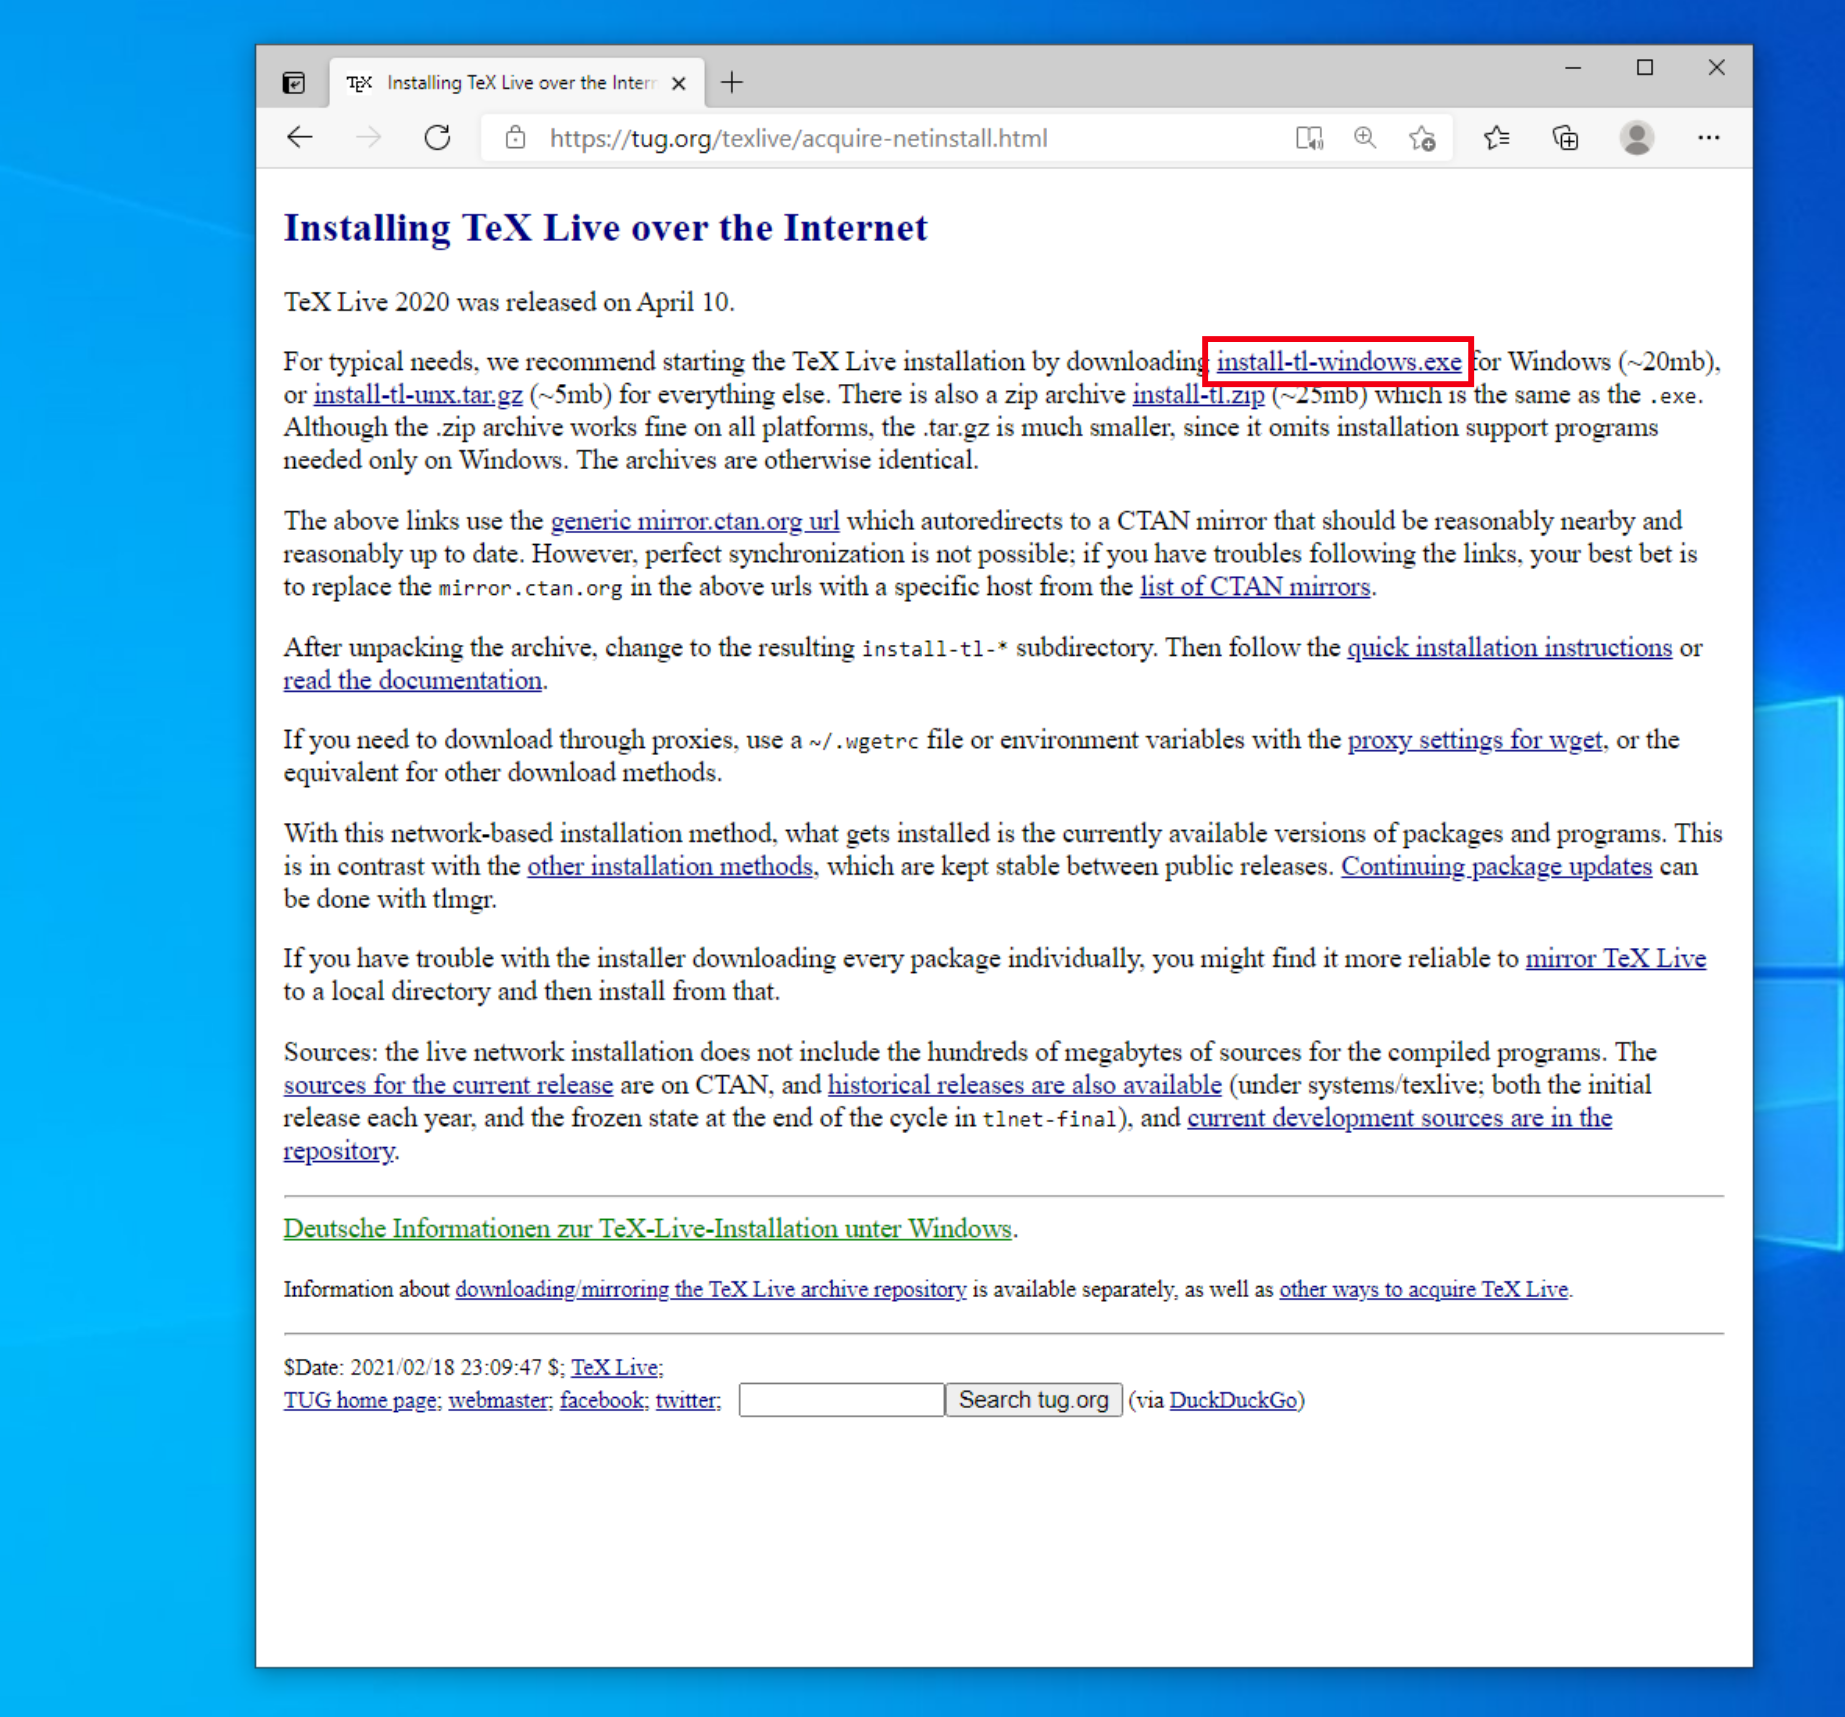
Download the TeXLive installer
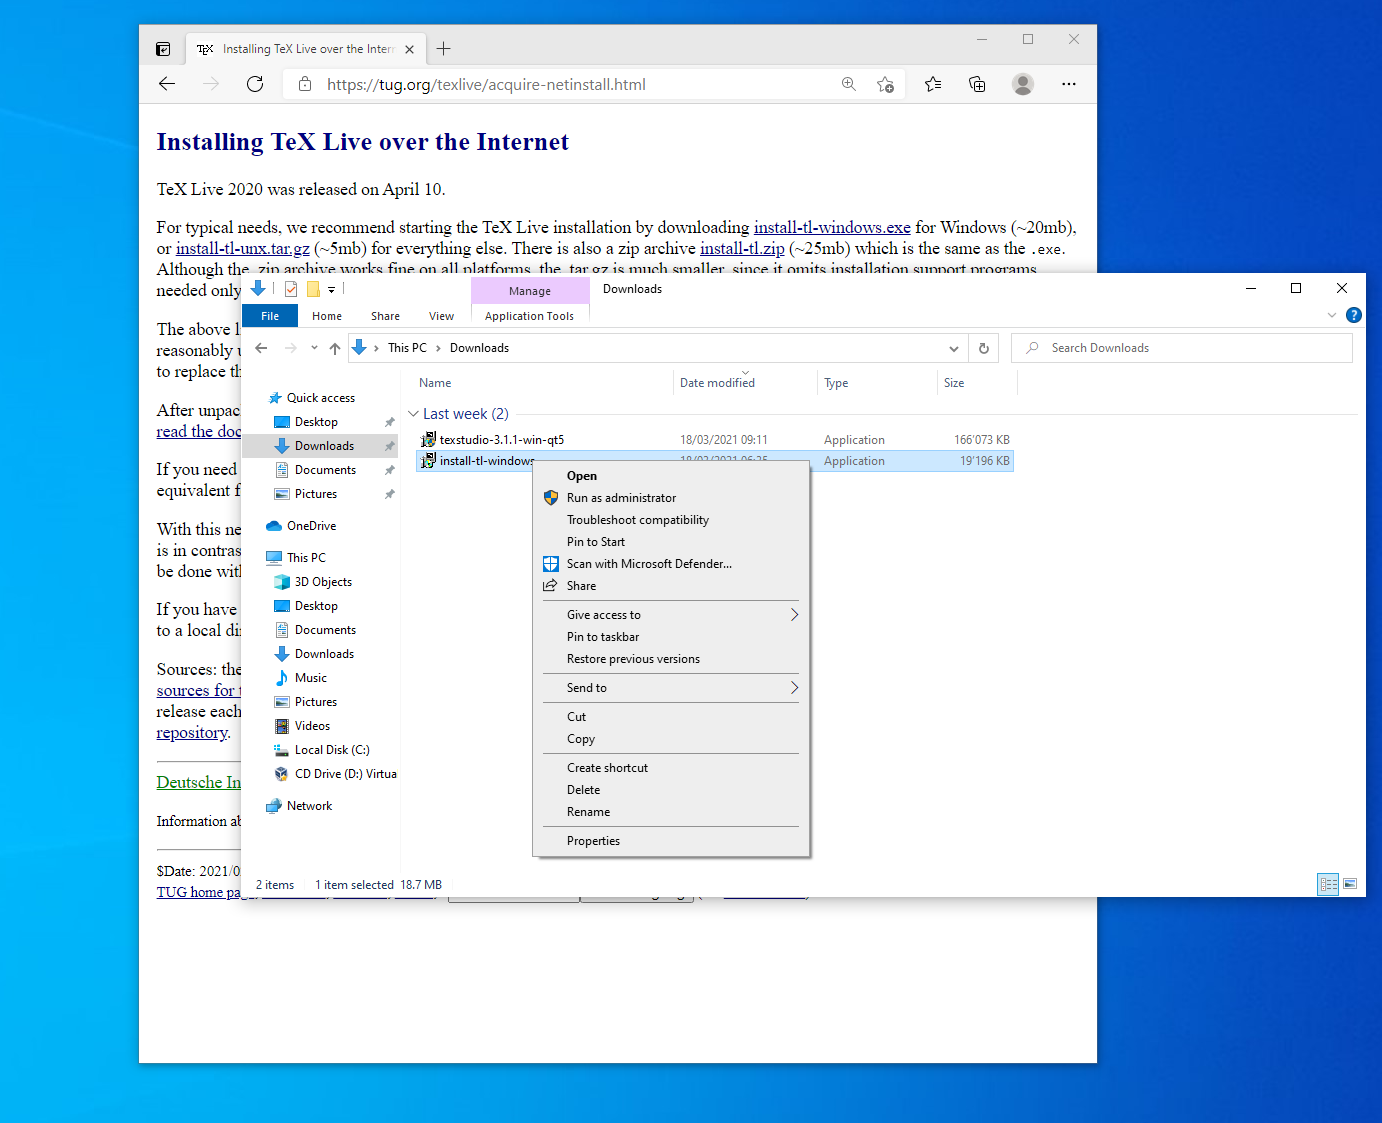
Run TeXLive installer as administrator
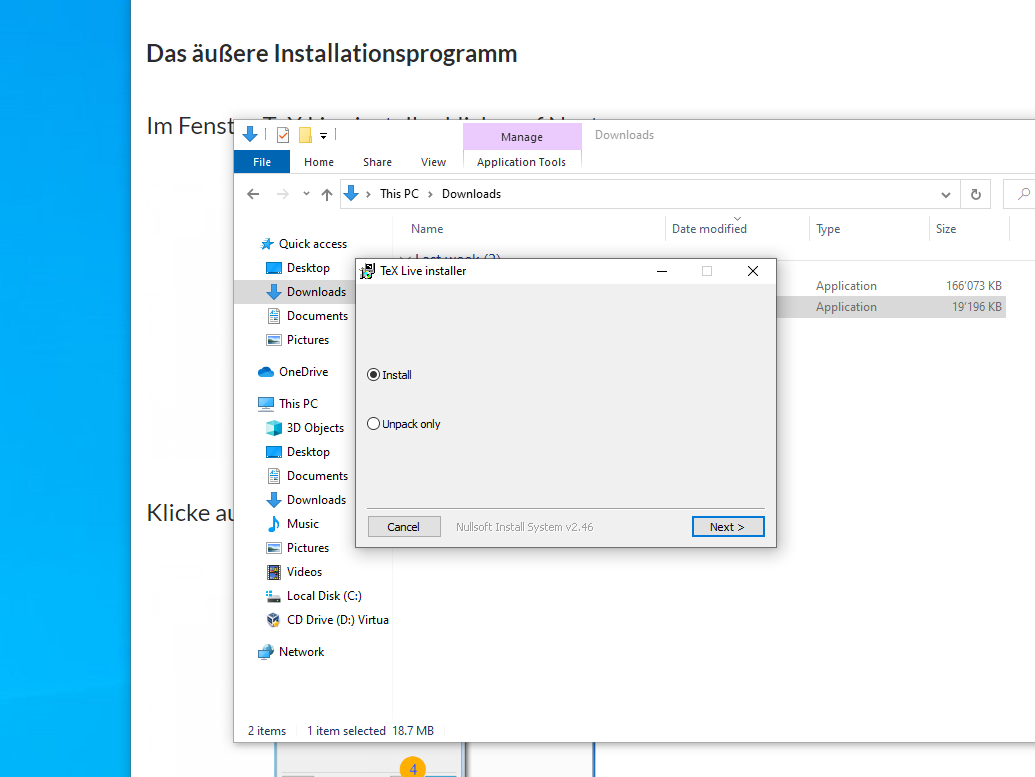
Choose Switzerland
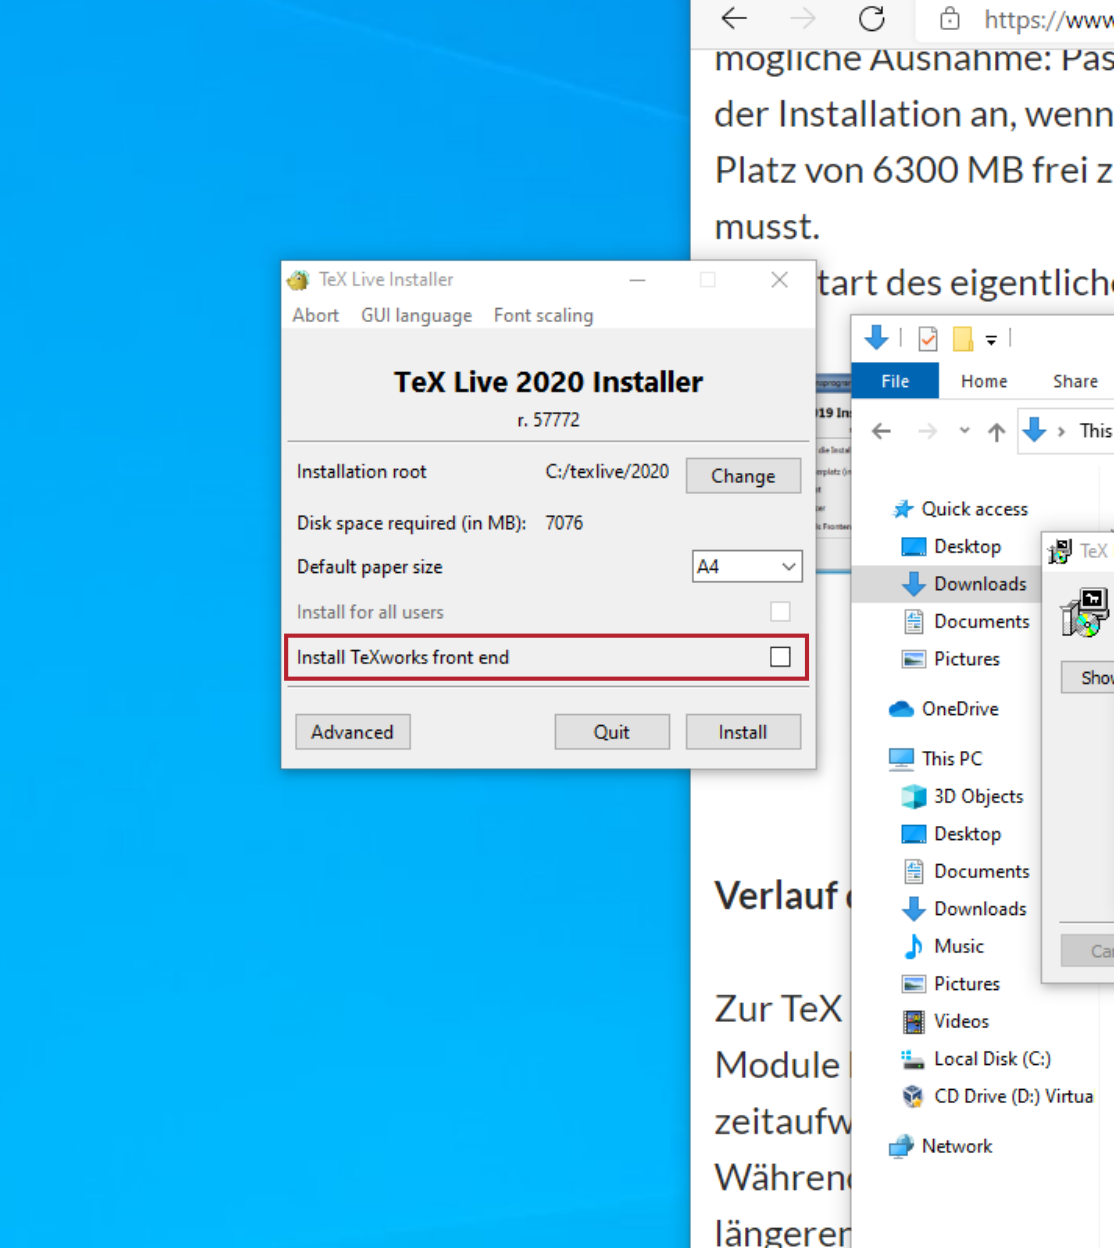
Disable installation TeXworks as we recommend to use texstudio
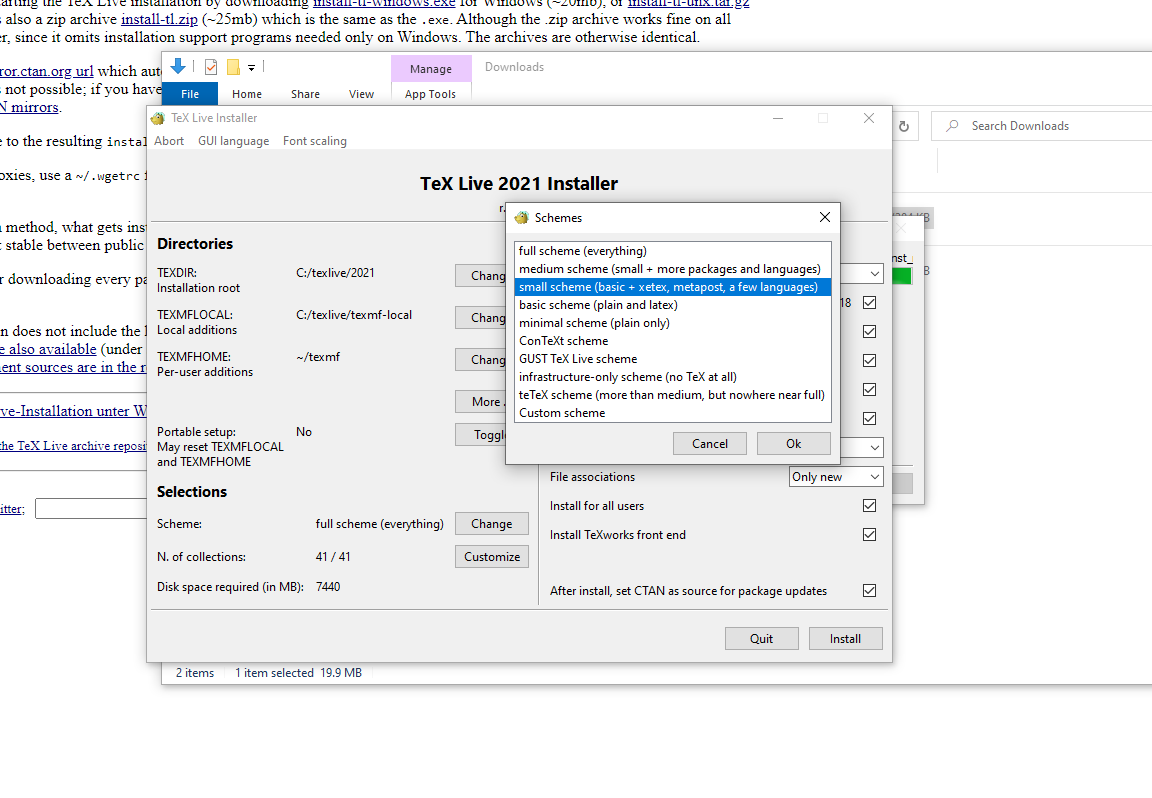
In the schema control menu “Advanced -> Selections -> Scheme” choose “small scheme” installation.
Start the installation
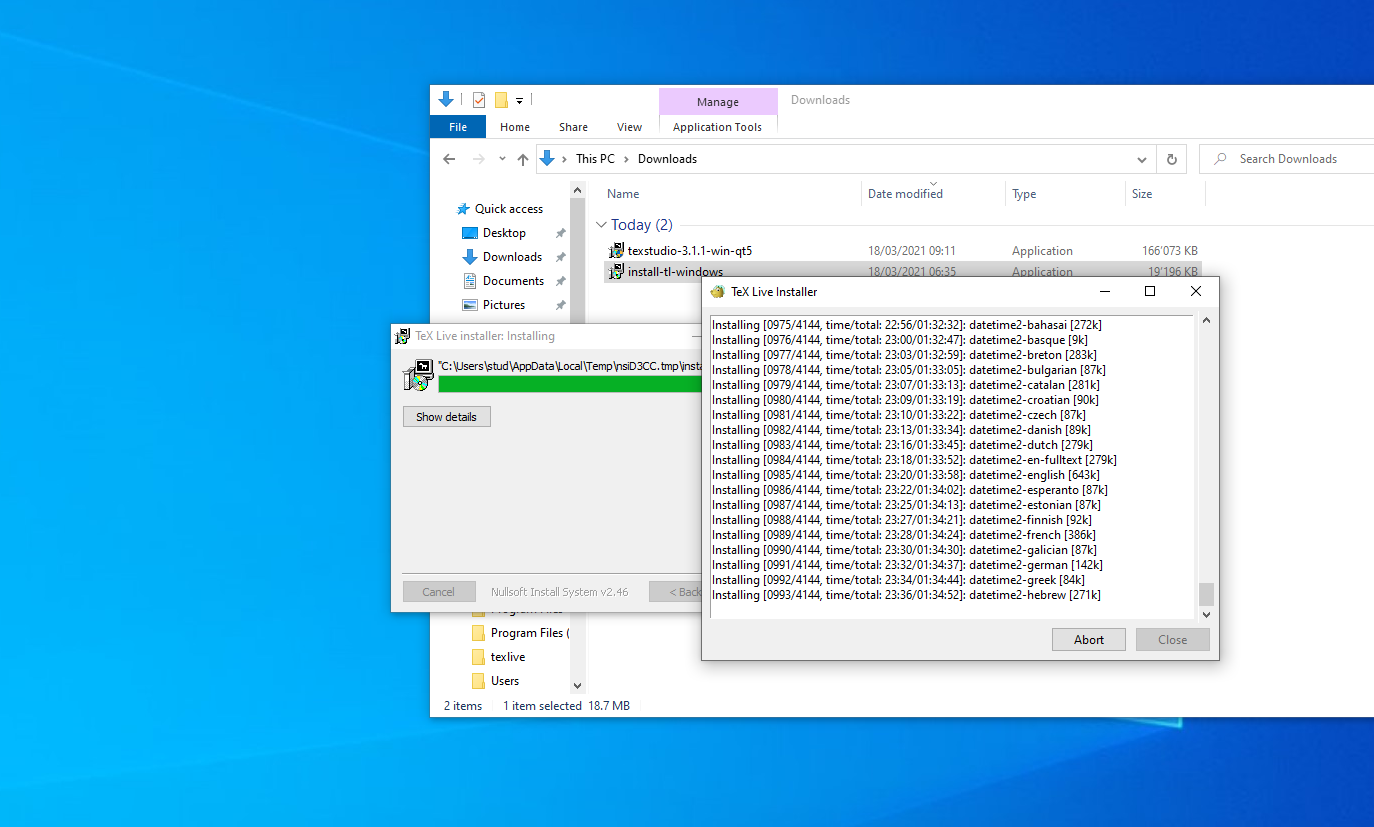
Download
tex-requirements.txtOpen Powershell in the download directory as an administrator.
Install the additional packages listed in
tex-requirements.txttlmgr install $(cat .\tex-requirements.txt)
After a successful installation, you should have a directory called
texliveon theC:drive of your system.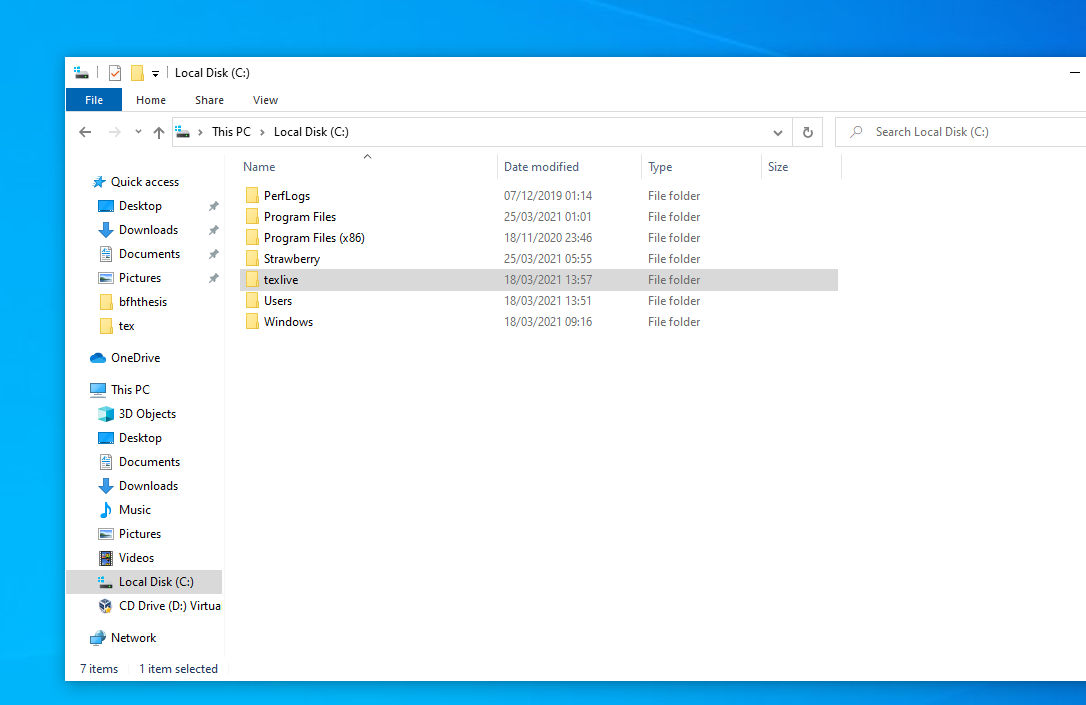
Note
The TeXLive documentation in multiple formats (html, pdf, …) and languages (en, de, fr, …) is available on tug.org.
Additional Tools/Packages
Fonts (required)
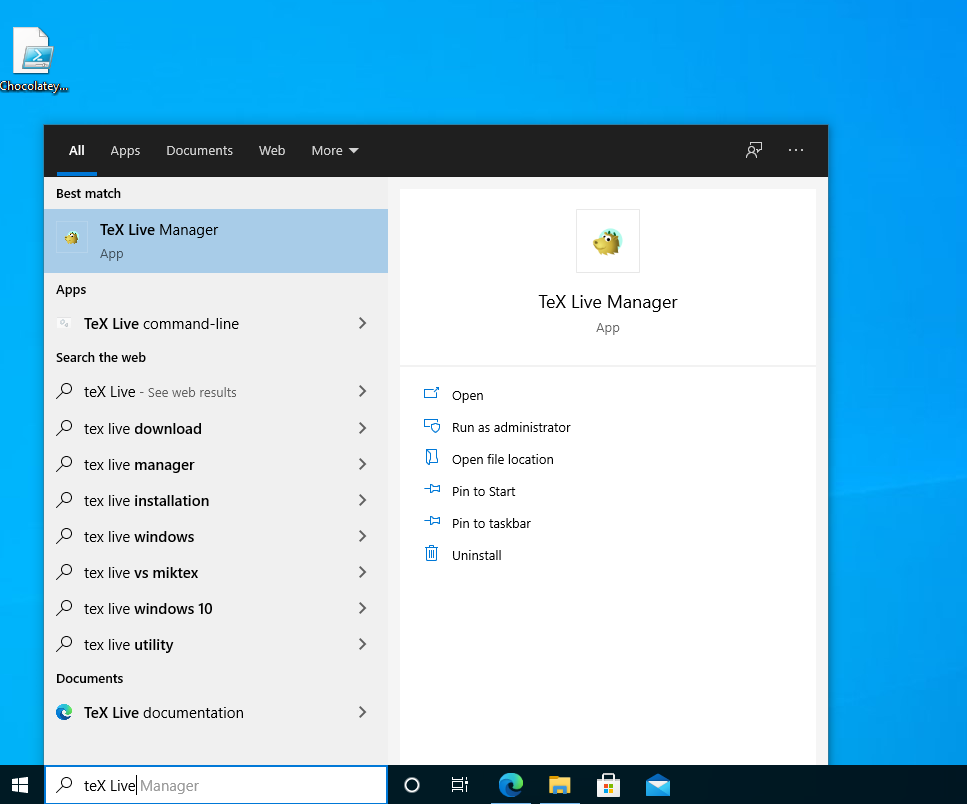
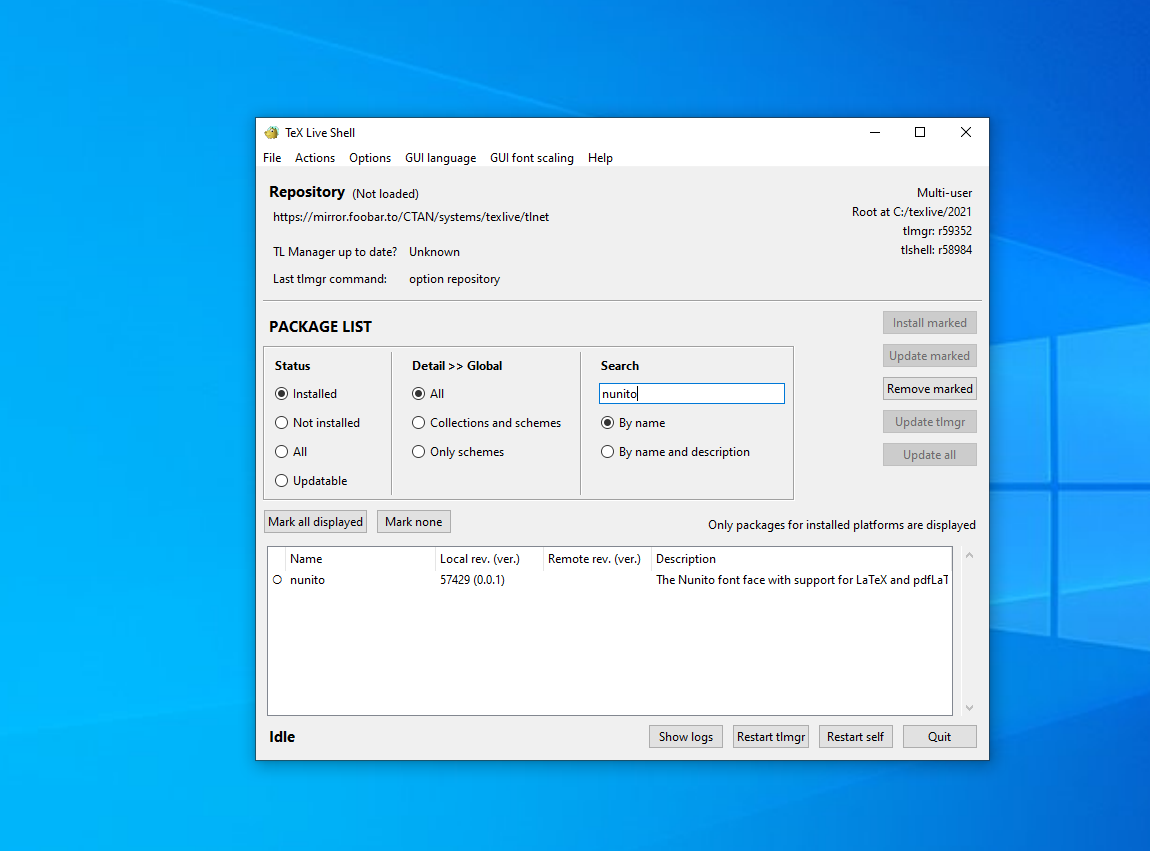
Install the default (and thus required) font nunito for the BFH CI.
Open TeX Live Manager and check if you already have installed nunito, if not install the font.
Biber (recommended)
Biber is used to generate bibliography in LaTeX.
Download and install the .exe file from the offical release website.
Latexmk (recommended)
A Perl script to compile LaTeX source file; Highly recommended.
It’s probably already installed. If not, open the TeXLive package manager GUI and install the latexmk package.
Read the section about Latexmk for more information about the CLI build tool.
(HINT) The TeXLive installer installs a minimal Perl environment. If you need a fully featured one, install it using one of the installers listed below. (Only you really need it)
Recommended: strawberryperl.com
Alternative: perl.org
Inkscape (recommended)
Inkscape is used either to draw vector graphics and/or to convert SVGs into PDFs on-the-fly. A conversion is needed because LaTeX has no native support for the SVG format. Install Inkscape on Windows with the Inkscape installer.
Warning
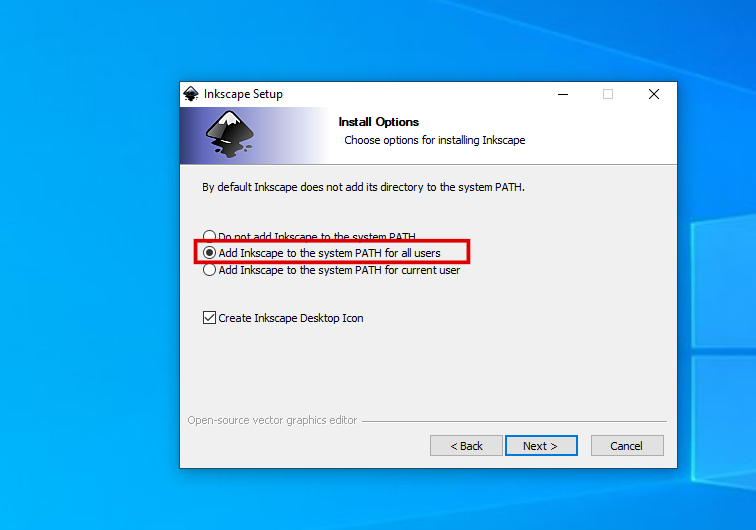
Install Inkscape from the official website and NOT from the MS Store. As you have to export the PATH to Inkscape as an environment variable. Uninstall Inkscape if it’s already installed from MS Store.
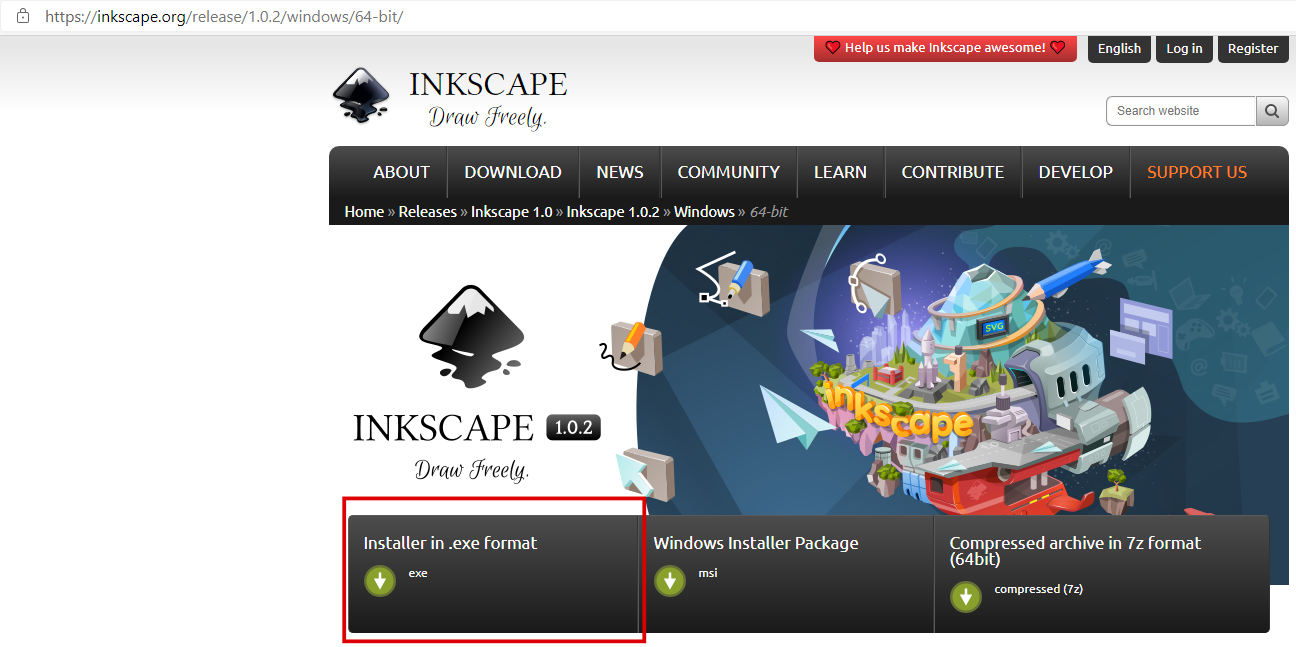
Download the latest Windows installer for Inkscape
Install Inkscape as described in the official installation manual
Execute the downloaded
.exefile as administrator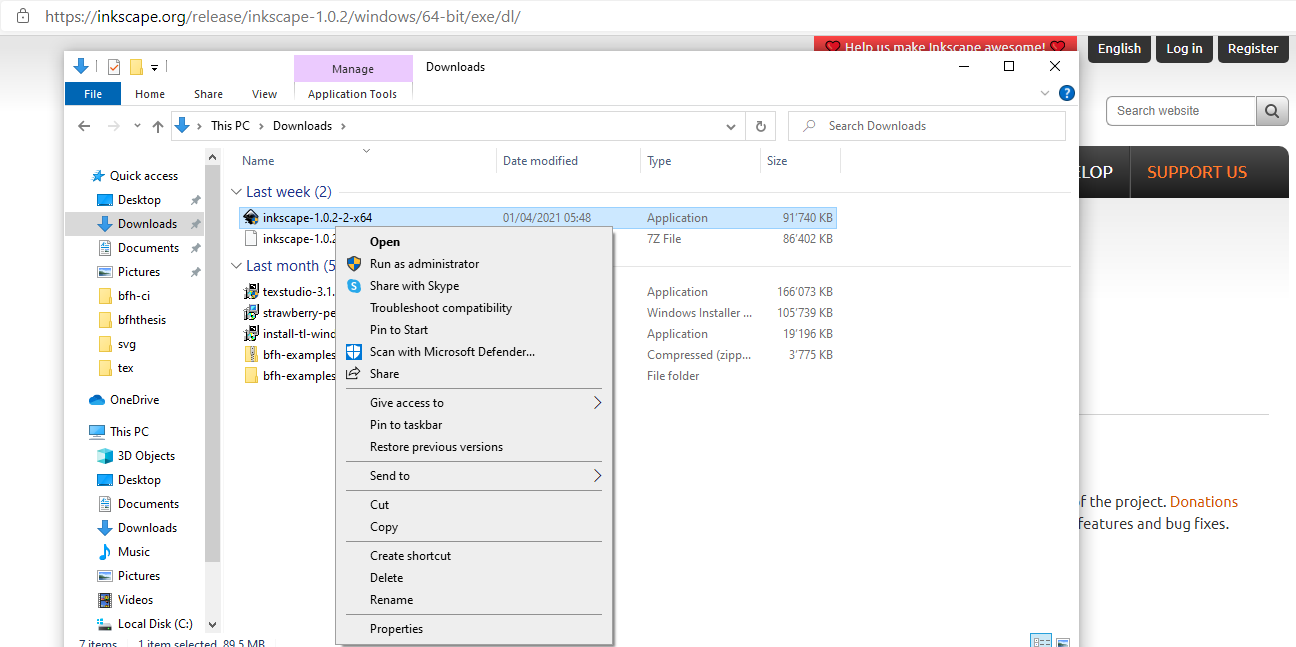
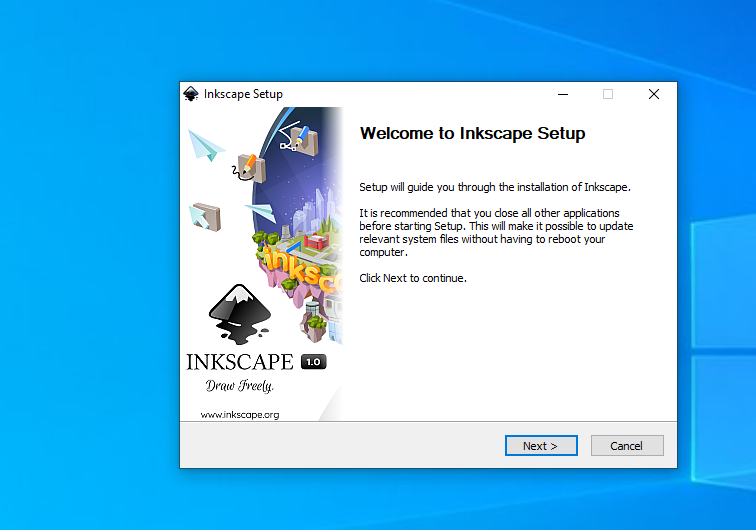
Follow the installation wizard and accept the license agreement.
Add the Inkscape installation directory to the environment variable “PATH” during the installation procedure
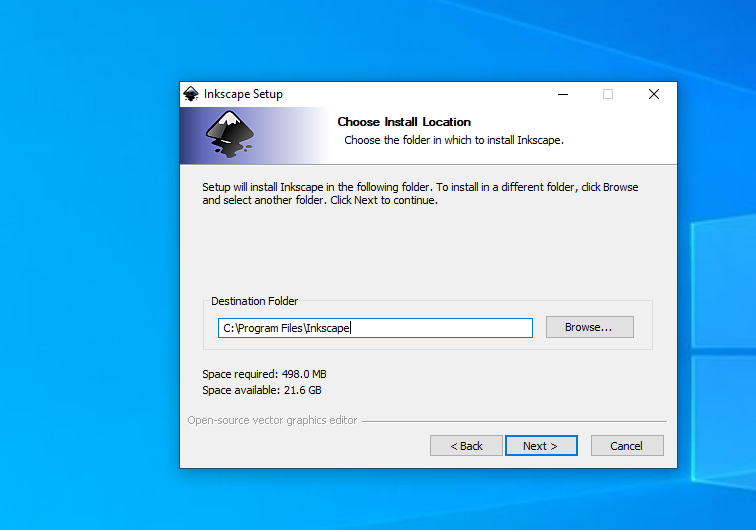
Use the default installation directory
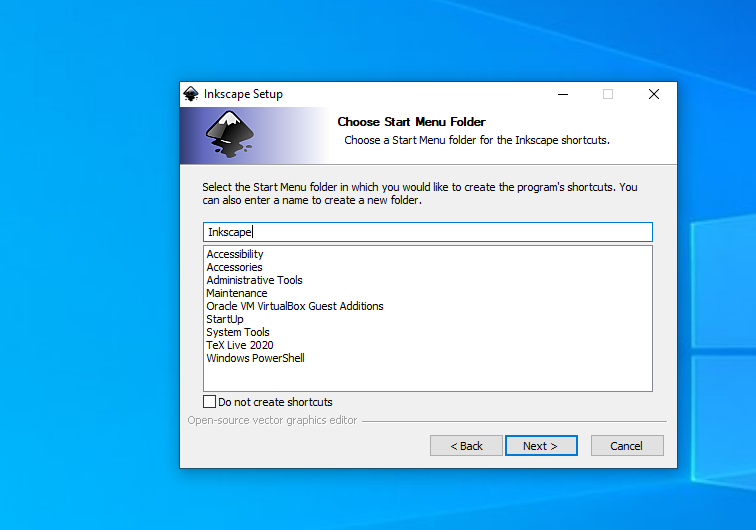
Keep the defaults for the start menu folder
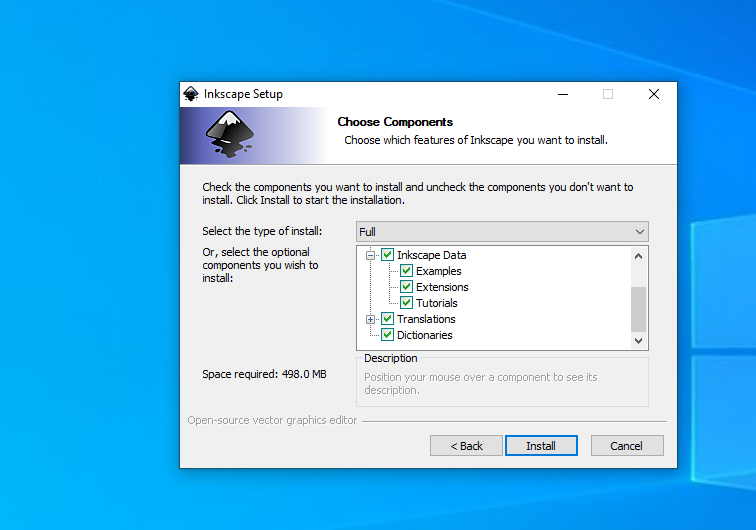
Click Install
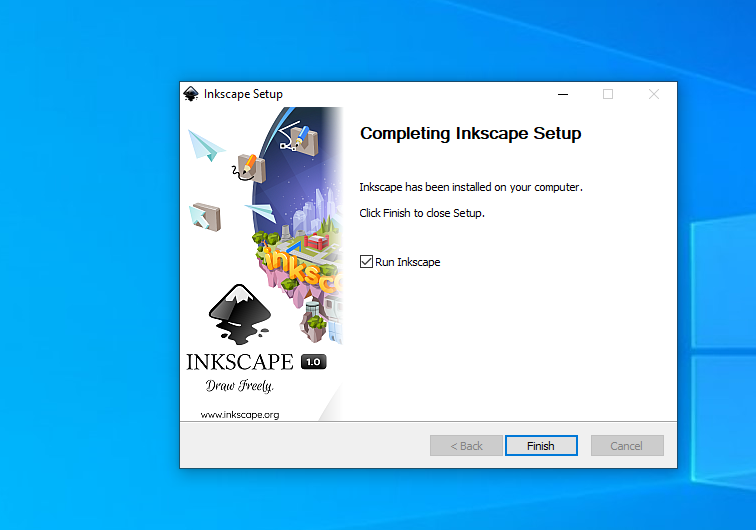
Click Finish (uncheck “Run Inkscape” first)
Editor
As described earlier, you can literally use any plain text editor to edit LaTeX documents. However, for beginners we recommend installing one of the editors listed below.
TexStudio
Install TeXStudio
VS Code
General purpose editor, together with the extension LaTeX Workshop